Disclosure: As an Amazon Associate, I earn from qualifying purchases at no additional cost to you.
There are few aromas on earth more intoxicating than a fresh sourdough loaf emerging from a blisteringly hot oven. Yet for many novice bakers, the dream of an open, airy crumb and a towering, caramelized ear often ends in a flat, dense disc resembling a pale cobblestone.
Commercial steam-injection deck ovens cost upwards of $10,000, but a simple heavy enameled cast iron Dutch oven replicates that exact environment on your home countertop for under $80. By trapping the moisture evaporating from your wet dough within its sealed chamber, the Dutch oven prevents the crust from setting too early, allowing the internal gases to expand violently for maximum oven spring.
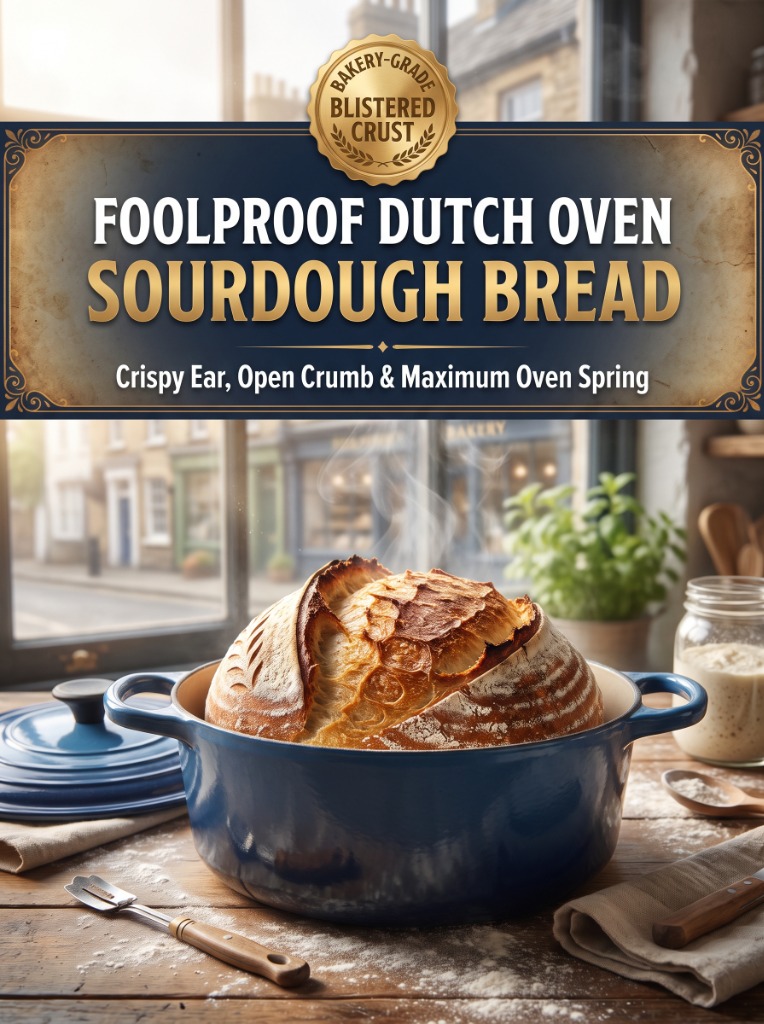
Save this pin to your favorite Pinterest Sourdough Baking & Bread Board!
Baker’s Percentage Formula (70% Hydration Boule)
| Ingredient | Weight in Grams | Baker’s % | Role in Dough |
|---|---|---|---|
| Unbleached Bread Flour (12.7% protein) | 450g | 90% | Gluten structure & volume |
| Whole Wheat or Dark Rye Flour | 50g | 10% | Complex earthy flavor & wild yeast food |
| Filtered Water (85°F) | 350g | 70% | Hydration & enzymatic breakdown |
| Active Sourdough Starter (at peak) | 100g | 20% | Natural leavening & lactic acidity |
| Fine Sea Salt | 10g | 2% | Tightens gluten & enhances flavor |
Essential Sourdough Baking Tools
1. Lodge 6-Quart Enameled Cast Iron Dutch Oven (The Sourdough Gold Standard)
The perfect thermal vessel for trapping released dough steam during the first 20 minutes of baking. Heavy tight-fitting lid creates a micro-bakery steam chamber for explosive oven spring.
2. Superbaking Round Banneton Bread Proofing Basket Set (9-Inch)
Natural Indonesian cane wicker basket that wicks surface moisture from dough during overnight retarding, leaving classic spiral flour rings and supporting optimal dough tension.
3. Bread Lame Slashing Tool with 5 Replaceable Razor Blades
Ergonomic wooden handle with surgical steel curved razor blades. Allows precise 30-degree angled scores that peel back into a dramatic, crisp sourdough ear.
The 2-Phase Dutch Oven Baking Schedule
Phase 1 (The Steam Oven Spring): Place your empty Dutch oven with the lid on into your home oven and preheat to 500°F for a full 60 minutes. Turn out your cold proofed dough from the banneton onto parchment paper, score with your razor lame at a 30-degree angle, and lower into the scorching Dutch oven. Drop in two ice cubes between the parchment and cast iron to boost steam. Cover tightly, reduce temperature to 450°F, and bake for 20 minutes without opening.
Phase 2 (The Mahogany Crust Cure): Remove the lid. You will see a pale, towering loaf that has doubled in height. Continue baking uncovered at 425°F for an additional 20 to 25 minutes until the crust turns a rich, deep mahogany chestnut with blistered golden micro-bubbles. Cool on a wire rack for at least 2 full hours before slicing!
Frequently Asked Questions (FAQ)
Why must I wait 2 hours to slice sourdough?
When bread leaves the oven, starches inside the crumb are still gelatinized. Slicing immediately releases interior steam, causing the crumb to collapse into a gummy, sticky texture.
Why didn’t my bread get a blistered ear?
Blistered ears require three things: cold dough directly from the fridge (firm surface), a 30-degree angled cut under the skin, and intense initial steam trapped inside the Dutch oven.